
Installing a telescoping flagpole looks simple. But in real projects, most problems—leaning poles, stuck sections, early complaints—start at installation. This guide walks you through the process step by step, with practical tips used by OEM buyers, distributors, and commercial installers to achieve stable, long-term results.

What Installing a Telescoping Flagpole Really Involves
A telescoping flagpole is designed to raise and lower without external ropes. That convenience only works if the base is set correctly.
When installation is done right:
- The pole stays vertical even in strong winds
- Telescoping sections slide smoothly for years
- End users avoid repeat service calls
When installation is rushed:
- Poles lean after a few months
- Sections bind or jam
- Distributors face avoidable returns
For OEM and retail buyers, installation quality directly affects customer satisfaction and brand reputation.
Choosing the Right Location Before You Dig
Location matters more than most installers expect.
Key points to check before digging:
- Wind exposure: Open areas need deeper footing than sheltered yards
- Ground type: Soil, grass, and concrete pads all behave differently
- Clearance: Leave enough space so the raised flag does not hit trees, roofs, or power lines
For commercial sites such as schools or retail stores, allow extra clearance for safety and local codes.
Tools and Materials You Actually Need
You do not need specialized equipment, but accuracy matters.
Prepare these items:
- Post-hole digger or auger
- Level (at least 600 mm)
- Fast-setting concrete mix
- Gravel for drainage
- Temporary braces or wooden supports
Tip: Most failures come from shallow holes, not weak poles. Hole depth matters more than concrete brand.
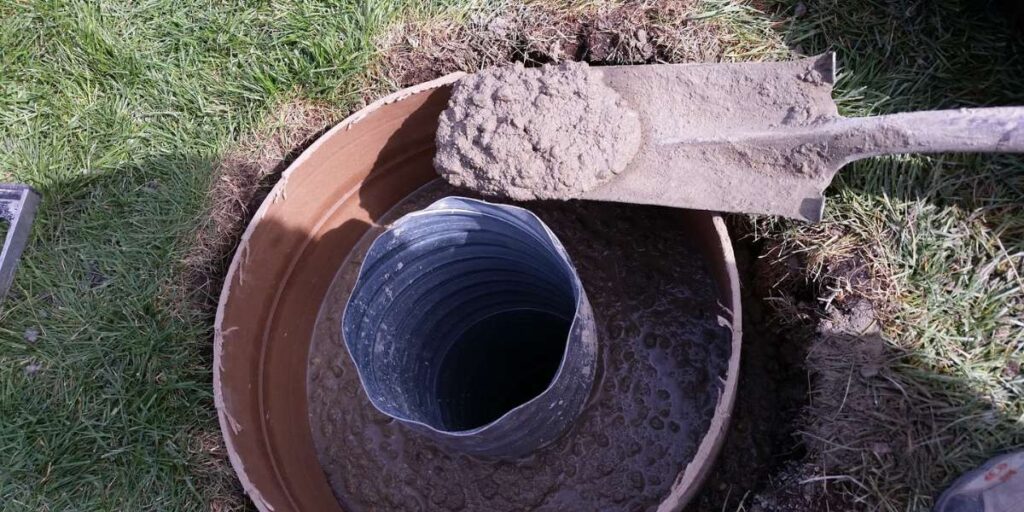
Step-by-Step: Installing a Telescoping Flagpole in Concrete
This method covers the most common and reliable installation.
Step 1: Dig the Hole
- Typical depth: 600–800 mm, depending on pole height
- Hole diameter: 2–3× the base diameter
- Add 50–100 mm of gravel at the bottom for drainage

Step 2: Position the Pole
- Place the base section into the hole
- Use a level on at least two sides
- Brace the pole so it stays vertical without holding

Step 3: Pour Concrete
- Fill slowly while checking alignment
- Compact gently to remove air pockets
- Stop the concrete slightly below ground level for a clean finish
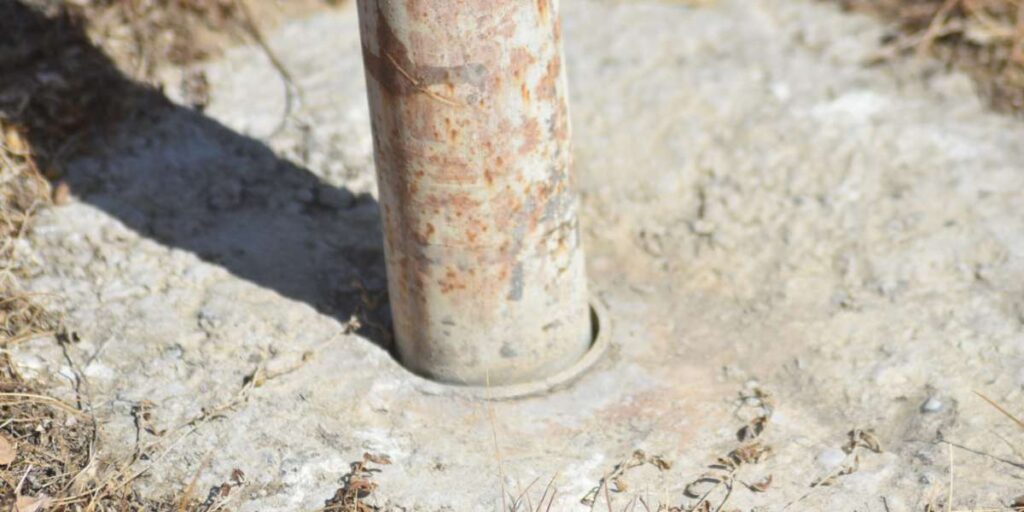
Step 4: Cure Before Use
- Initial set: 24 hours (no flag raised)
- Full cure: 48–72 hours before full extension
Common Installation Mistakes (and How to Avoid Them)
These issues appear repeatedly in field feedback.
- Pole leans after installation: Hole too shallow or concrete not compacted
- Sections jam: Pole not perfectly vertical during curing
- Movement in wind: Base diameter too small for pole height
Avoiding these mistakes reduces warranty claims and after-sales costs, especially for retail programs.
Residential vs Commercial Installation: What Changes?
The steps are similar, but priorities differ.
Residential installs
- Focus on ease and appearance
- Often a single-person installation
- Moderate wind exposure
Commercial installs
- Higher wind loads
- Safety and long-term stability matter more
- Often inspected or installed by contractors
For OEM buyers supplying large retailers, consistent installation success across both scenarios is critical.
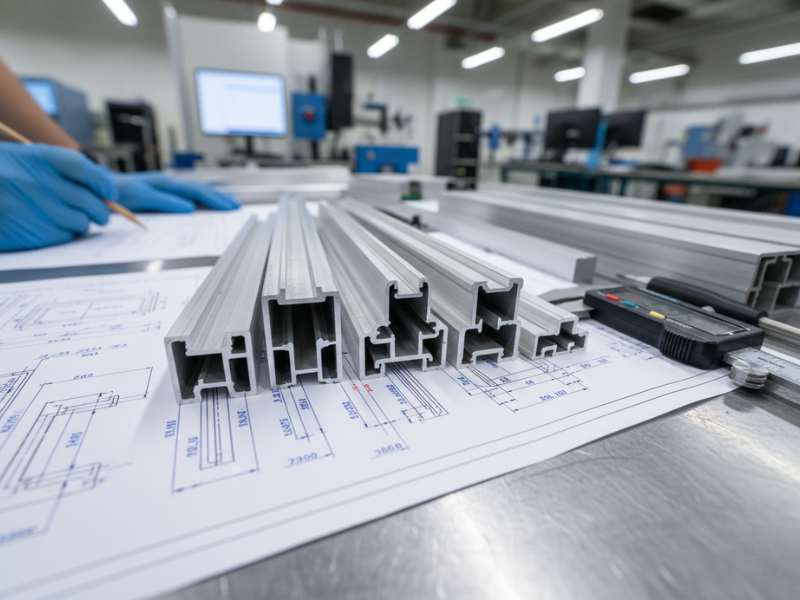
Why Aluminum Telescoping Flagpoles Are Easier to Install
Aluminum is widely used for telescoping flagpoles for practical reasons.
Benefits during installation:
- Lighter weight reduces handling risk
- Strong enough without oversized bases
- Corrosion resistance for outdoor use
This balance makes aluminum telescoping flagpoles easier to install correctly, even for first-time users.
For material background, see Aluminum on Wikipedia.
After Installation: Checks That Prevent Complaints
Simple checks can prevent long-term issues.
- Recheck vertical alignment after 24 hours
- Extend and retract sections before first use
- Inspect the base area after the first strong wind
Distributors who include these checks see fewer service calls in the first year.
FAQ: Installing a Telescoping Flagpole
How deep should the hole be for a telescoping flagpole?
Most installations require 600–800 mm, depending on pole height and wind exposure.
Do I always need concrete?
For permanent outdoor installation, concrete is strongly recommended.
Can one person install a telescoping flagpole?
Yes, most residential poles are designed for single-person installation.
How long before I can raise the flag?
Wait at least 24 hours after pouring concrete.
Why does a telescoping flagpole lean over time?
The most common cause is insufficient hole depth or poor alignment during curing.
Related Products
If you are sourcing poles for OEM or retail programs, explore our aluminum telescoping poles designed for pool tools, flagpoles, and outdoor equipment. These products focus on stable locking, consistent wall thickness, and repeatable installation results across large volumes.
View aluminum telescopic pole products
Ready to Specify or Source?
Whether you are a brand owner, distributor, or retail buyer, our export team supports drawings, samples, and OEM programs.
- Request a sample
- Download technical specifications
- Contact our export team
Contact us today to discuss your telescoping flagpole project.