
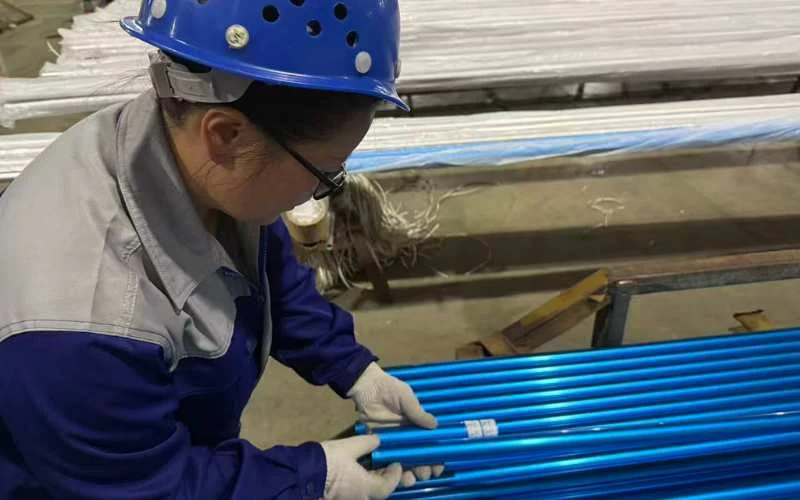
Anodizing defects are easiest to resolve when the buyer and factory agree on the acceptable finish before production. A streak, color shift, pit, or handling mark on an aluminum pole may come from the metal, surface preparation, anodizing, or later assembly. A photograph alone rarely proves the cause. Use an approved sample and a clear inspection record to decide whether to accept, isolate, or investigate the affected lot.
Which Anodizing Defects Matter on a Telescopic Pole?
Start with visible changes that affect the agreed appearance or the pole’s working surfaces. Look along each tube for streaks, cloudy patches, pits, and differences between adjacent sections. Then inspect areas hidden by locks and end fittings. A mark under a collar may be less visible in use, but roughness or damaged coating on a sliding section can affect how the pole extends.
The Qualanod material-defects catalogue describes segregational streaking as a material-related defect that can become visible after polishing and anodizing. It links the appearance to differences in the underlying metal and notes that substantial mechanical preparation can sometimes remove it. Treat the pattern as a reason to investigate material and process records, rather than assuming a tank adjustment will fix every streak.
Record the Symptom Before Naming the Cause
Keep one marked sample from the affected batch and compare it with the approved finish. Photograph the full pole and a close view of the mark under the same lighting. Record the tube section, location, batch, color, and whether the issue repeats on other poles. Do not mix pieces from different lots while investigating.
| What you see | First check | Buyer action |
|---|---|---|
| Lengthwise streak | Does it follow the tube and repeat across the lot? | Isolate samples and compare extrusion and finish records. |
| Uneven shade | Are the sections the same alloy, finish, and approved color? | Compare complete poles under agreed lighting. |
| Pit or dark spot | Is it on the exposed surface or a sliding contact area? | Mark its location; ask for a cause review before rework. |
| Scuff near a lock | Was it present before assembly or made by contact afterward? | Check fit and handling on assembled samples. |
Set the Acceptance Rule Before the First Bulk Run
“Anodized blue” or “no defects” is not enough for a repeatable inspection. Send the supplier an approved physical sample or agreed color reference, the alloy and temper, finish and sealing requirements, coating-thickness requirement, and the intended use environment. Mark which faces remain visible after assembly and which tube surfaces slide against one another. Agree on the viewing conditions and what must be rejected, reworked, or accepted as normal process variation.
The Aluminum Anodizers Council’s finish guide explains that alloy and temper affect appearance, and that the desired mechanical finish, pretreatment, anodic finish, and coating thickness should be specified. It recommends selecting appearance from actual finish samples. Put those choices in the purchase specification, not only in an email after the shipment arrives.
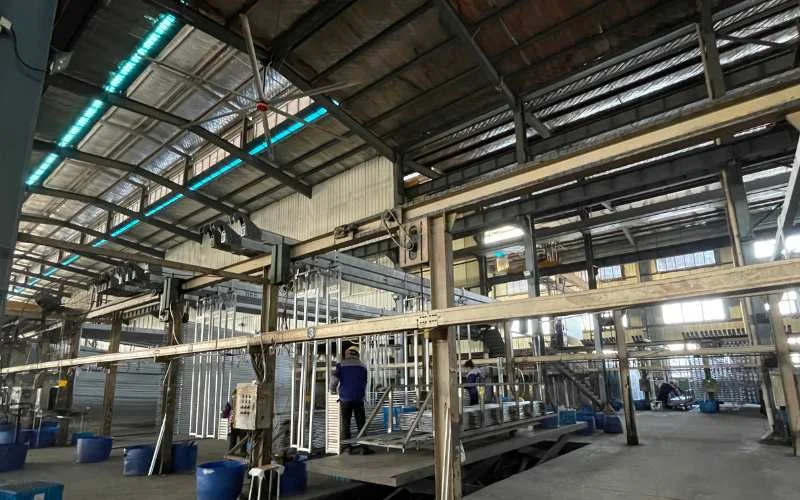
Inspect the Finished Pole, Not Just a Flat Sample
A flat color chip cannot show the appearance of a stepped, assembled pole. Check adjacent sections at the length customers will see, then extend and collapse the pole to inspect contact areas. Verify that the lock, collar, and packaging have not marked the approved finish. A lot with consistent color but scuffed sliding tubes may still fail the agreed functional check.
Xingyong extrudes aluminum sections, anodizes them, and assembles telescopic poles in Huai’an. For an OEM order, approve a finished pole with the actual locks and packaging, then retain the reference for later batches. See the anodizing and surface finish options for the product choices; the anodizing process guide covers the manufacturing sequence. This article focuses on identifying and documenting an acceptance problem.
What to Do When a Batch Does Not Match
Hold the affected lot and ask for a documented comparison against the approved sample. Check whether the mark occurs before finishing, after anodizing, during assembly, or after packing. Request the supplier’s proposed disposition for the marked pieces and a preventive action for the next run. Do not assume that stripping and re-anodizing will remove a metal-origin streak or that polishing is acceptable on a dimension-sensitive sliding tube.
If the concern is corrosion performance rather than visible finish, define the specimen, test method, and pass rule separately. An attractive surface alone does not prove that a pole meets a corrosion requirement.
Frequently Asked Questions
Are all visible streaks caused by bad anodizing?
No. A streak may originate in the metal or earlier preparation. Record the pattern and review the production history before assigning a cause.
Can a factory promise zero color variation?
Approve a sample and an agreed appearance range instead of an undefined zero-variation promise.
Should I inspect a color chip or a complete pole?
Inspect a complete pole. Adjacent sections, locks, sliding surfaces, and packaging can reveal issues a flat chip cannot.
Does a coating-thickness reading prove the appearance is acceptable?
No. Thickness and visible appearance are separate checks; agree on both before production.
What should an OEM buyer send with a defect claim?
Send the approved sample reference, batch ID, full-pole and close-up photos, mark location, and the agreed acceptance requirement.

 English
 Español
 Français
 Deutsch
 Português